How to Measure a Trampoline for Replacement Parts
Learn the exact steps you need to take, plus our professional trampoline tips, on how to measure a trampoline and order the perfect replacement parts.
min read
If you use a trampoline enough, the need to eventually order replacement parts will likely arise.
The safety padding might start to wear down, the enclosure may start to tear or the mat could begin deteriorating.
Regardless of the issue, parts will likely need to be replaced at some point if you want to make sure the trampoline is as safe as possible. And to order the right part, you will need to measure your trampoline.
How are you supposed to know how to measure your specific trampoline for the part you need, though?
We’ve got you covered: As a trampoline innovator and manufacturer, we will use our years of expertise to address how to measure a trampoline properly and efficiently.
We’re going to be breaking down, in exact steps, how to measure a trampoline by each of the key individual parts that will most commonly need to be replaced. These will include how to measure the frame, mat, enclosure (net), enclosure poles, safety pads and springs.
After reading this, you should feel knowledgeable and confident in measuring your trampoline correctly to get the right parts. Let’s get to it!
Why Would You Need to Measure a Trampoline?
Before breaking down how to measure a trampoline part by part, let’s briefly touch on why you would need to measure a trampoline.
The main reason you would measure a trampoline is to ensure that you get the right replacement parts or accessories for your trampoline. As mentioned in the introduction, these parts can include the frame, mat, enclosure and springs, among others.
How to Measure a Trampoline (By Each Part)
Now, let’s get to what you came here for! Below are steps, broken down individually, of the trampoline parts that most commonly need to be replaced, and thus, measured:
How to Measure a Trampoline Frame
The trampoline frame plays a fundamental role in determining what other parts you need, which is why it’s the first part we will discuss.
The trampoline frame itself will usually not need to be replaced until after a while, but measuring the frame will help you get the right-sized parts. For instance, you can’t know the mat size without measuring the frame first (more on this in the next section.)
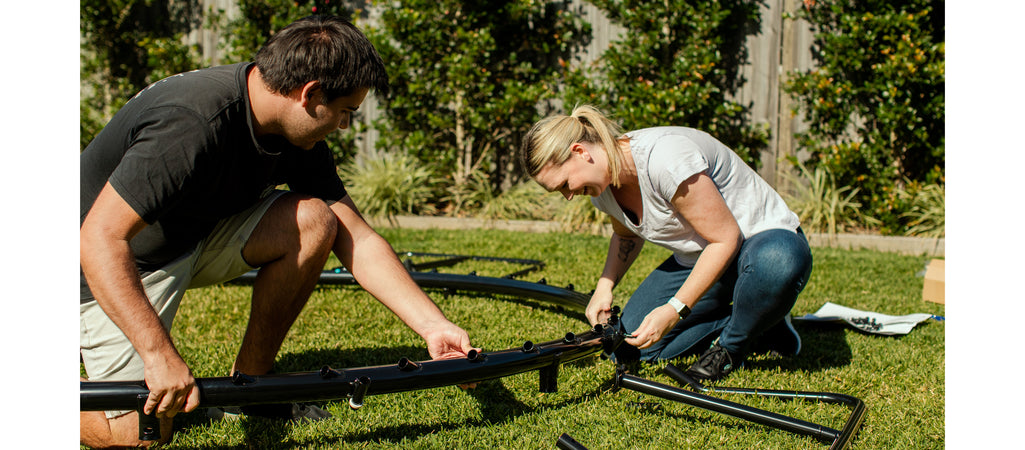
HOW TO: To measure the frame of a trampoline, take a tape measure and go from one outside edge to the other edge of the frame (the widest part of the trampoline). Make sure all springs are attached and the mat is correctly installed before measuring.
Keep the measuring of the frame in mind as we go into the next section…
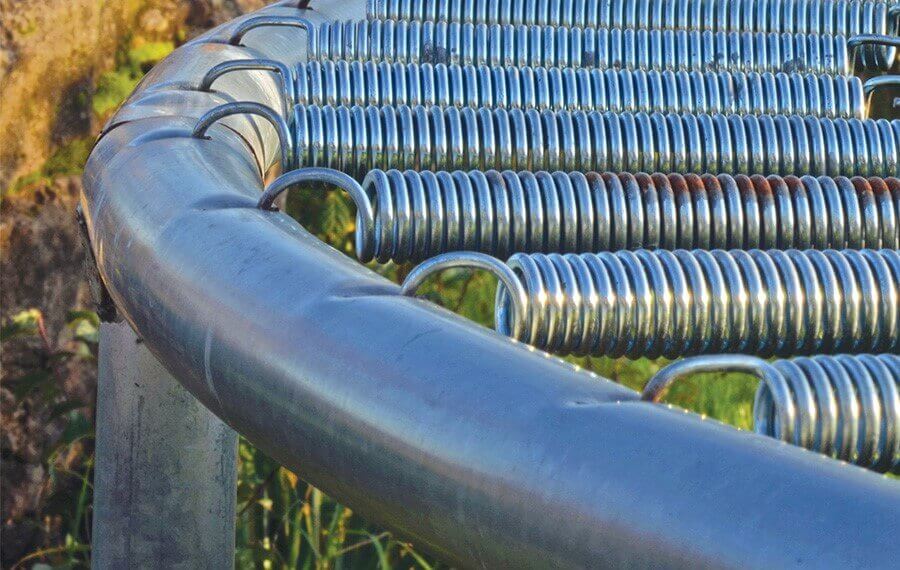
A picture of a trampoline frame and springs:
How to Measure a Trampoline Mat
You learned in the last section that the frame and mat go hand-in-hand when measuring a trampoline: You can’t get the mat’s dimensions without measuring the frame.
For example, a 10-ft spring-based trampoline mat actually measures 8 ft but fits on a 10-ft trampoline frame. Why is this?
It’s because the springs must be accounted for. The springs on most trampolines will take up around 2 in between the jumping mat and the frame. That is why if you were to need a replacement mat for a 10 ft trampoline, you would still buy the 10 ft trampoline mat, but it would only measure 8 ft.
That is why you need to measure the frame first when figuring out what size of mat you need. However, that is not the only step you need to take to get the right trampoline mat.
Here are the steps to properly measure a trampoline mat:
-
Measure your trampoline frame from one edge to the other edge (like we talked about in the previous section)
-
Count the number of v-rings your mat will have (V-rings are the parts shaped like a triangle that connect your trampoline springs to the trampoline mat)
-
Measure your spring size from one hook-end to the other
Let’s say that your trampoline frame measured 10 ft, you counted 55 v-rings and your springs are 5.5 in long.
That means you would need to look for a jumping mat that measures 10 ft, has 55 v-rings and uses 5.5 in springs.
BOOM! Now you know how to find a replacement trampoline mat. But…there is one more thing you need to be aware of when buying a mat.
Measuring the trampoline frame (the first step in getting the correct jumping mat) can look different depending on the shape of your trampoline. Let’s discuss that in more detail:
How to Measure a Round Trampoline Mat
Since round trampolines are among the most common trampoline shapes, let’s start with how to measure a round trampoline mat.
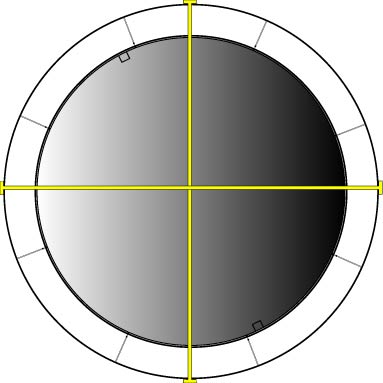
HOW TO: To measure a round trampoline mat, you can follow the same steps we discussed above: Measuring vertically, start at the outer metal edge and measure straight across to the other edge.
If you want to double-check that your measurement is correct, you can measure perpendicularly to make sure it aligns with the vertical measurement. They should be the same dimensions.
See the picture below (courtesy of JumpSport) for a visual representation of measuring vertically and perpendicularly:
Springfree Tip: Measure the frame at least twice to ensure you get the correct measurement.
How to Measure a Rectangle and/or Square Trampoline Mat
Next, let’s discuss two other trampoline shapes, rectangle and square, that you can find the dimensions using the same steps.
HOW TO: To properly measure a rectangular or square trampoline, you need to start the outer edge of the trampoline and measure vertically across to the opposite edge. This will give you one of the dimensions. You can then do the same thing, this time measuring perpendicularly, for the long sides of the trampoline to get the second dimensions you need.
See the graphic below from JumpFlex to see a visual representation of how to measure a rectangle/square trampoline mat:

How to Measure for a Trampoline Enclosure (Net)
Next, let’s talk about how to measure your trampoline for a trampoline enclosure, or net.
There are three steps you need to follow when measuring for an enclosure:
-
Figure out the type of enclosure your trampoline has.
Trampolines can have many different types of enclosures, including:
-
Straight pole enclosures (with pole caps using bolts or handles)
-
Straight curved poles
-
Straight-curved pole enclosures
-
Arched pole enclosures
-
Top ring enclosures
-
Measure your trampoline’s frame (Remember, the frame affects almost everything!)
-
Count how many enclosure pole connection points (arches, poles) the net has.
To show these steps in context, let’s go over an example:
Example of How to Measure for a Trampoline Enclosure
Take a look at the trampoline below (courtesy of Amazon):
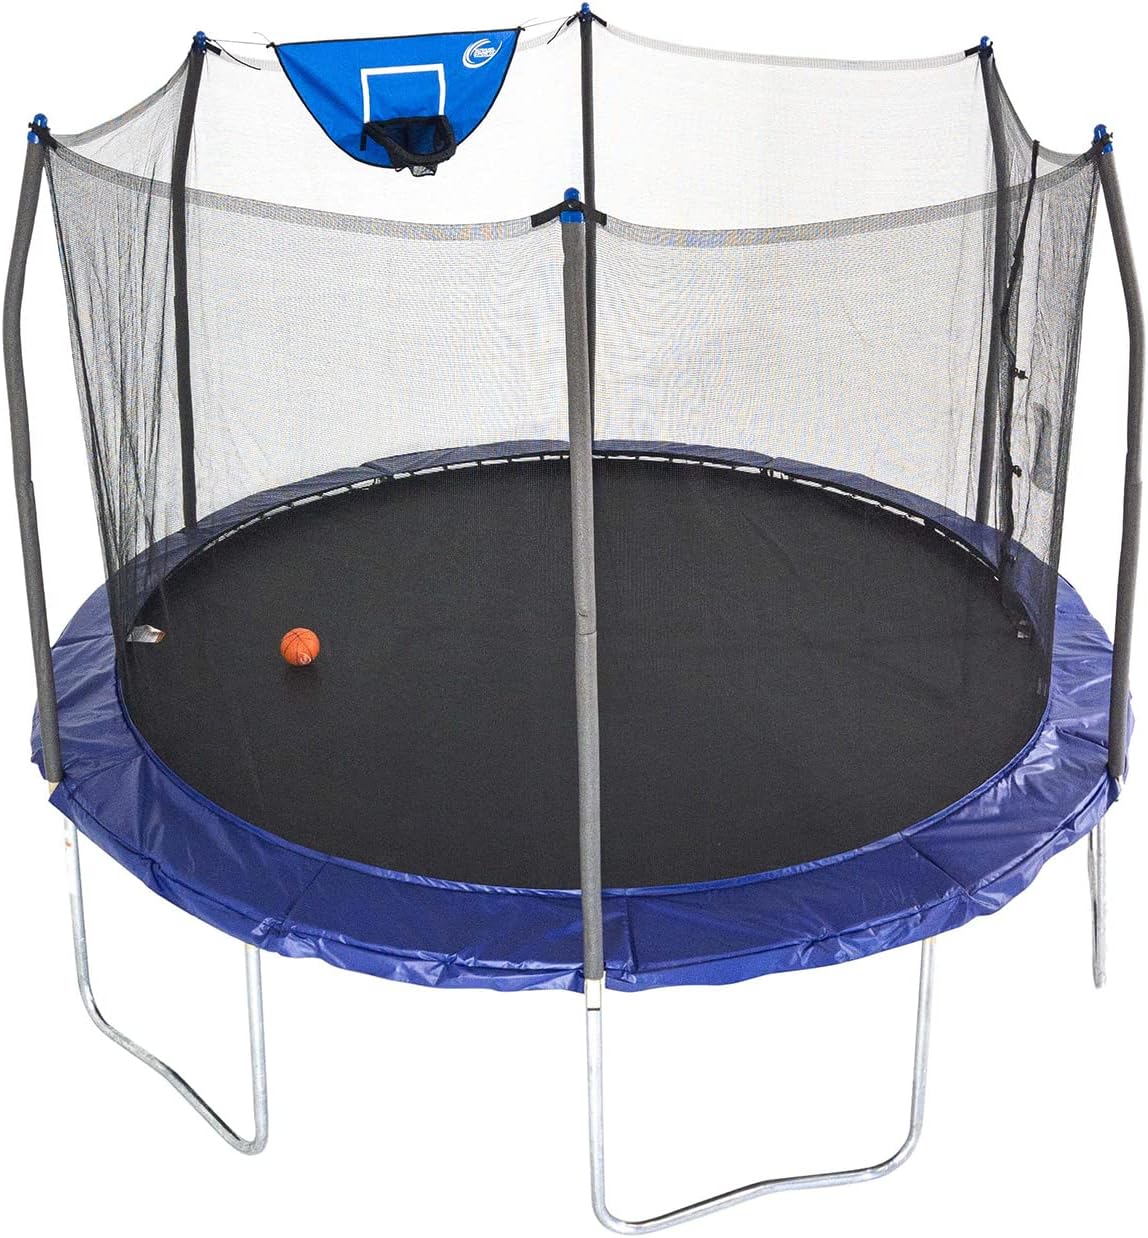
If you were ordering a net for the trampoline above you would realize it has straight pole enclosures, measures 12 ft wide and has six connection points. That means you would need to order a net for a 12 ft trampoline that includes six connection points.
How to Measure Trampoline Poles
Trampoline poles, or safety enclosure poles, are also another part of a trampoline that may need to be replaced.
HOW TO: It’s best to remove the trampoline pole first before measuring it, since it’s usually its own piece and not part of the frame. Once you have the pole, note the shape of it (straight, arched, round, square, octagonal) in comparison to the socket it attaches to. Now, measure the length and diameter of the pole and see if there is a uniqueness to the attachment point.
If you follow these steps, you should be able to find the type and size of trampoline pole you need!
How to Measure a Trampoline for Safety Pads
The safety pads of a trampoline play an essential role in protecting jumpers from the springs, which can cause pinching injuries to jumpers’ feet or hands if not properly covered.
Luckily for you, you’ve already learned how to measure a trampoline for safety pads because it’s the exact same process as measuring a jumping mat! To review:
-
Measure the trampoline’s frame
-
Count the number of v-rings and springs (may not necessarily need to do this but it doesn’t hurt)
-
Measure the spring length
Just like the jumping mat, you will order the replacement safety padding based on the frame size. So, a 10 ft round trampoline would need 10 ft safety padding.
How to Measure a Trampoline Spring
Finally, let’s go over how to measure what gives a trampoline its bounce—the spring.
HOW TO: To measure a trampoline spring, remove one from your trampoline and measure it from hook-end-to-hook-end. Make sure you choose a spring that is not stretched or bent, and when in doubt, take a few springs off and measure them to make sure you get the right dimensions.
How Often Do You Need to Replace Trampoline Parts?
We’ve covered how to measure specific parts of a trampoline, but how often do you need to replace these parts?
The answer depends on multiple factors, including:
-
The quality of the trampoline
-
The type of climate your trampoline resides in
-
The age and size of the jumper(s)
-
How often the trampoline is used
The cheaper the trampoline, the more replacement parts it will likely need. For example, on a frequently used cheap trampoline, the safety padding and enclosure (net) may need to be replaced every year. Springs would probably need to be replaced every 2-4 years.
That’s why if you’re planning to purchase a trampoline for your child to grow with, it’s recommended to go with a higher-quality model: Cheaper trampolines are only built to last under consistent use for 1-2 years.
How Do You Pay for Replacement Trampoline Parts?
You now know how to measure a trampoline for each of the common parts that may need replacements in the future.
Now you have to pay for it…Or do you?
This depends on whether the parts you need or covered by warranty. How long certain parts are covered under warranty varies by brand, and explaining warranties and how they work in the trampoline industry would take its own separate article.
But, as a general rule: You should ALWAYS check to see if a replacement part can be covered by warranty. There’s no need to spend money on a part that is covered under warranty by your trampoline manufacturer.
If you need a replacement part for your trampoline, do some research or contact your trampoline manufacturer to see if your desired part is covered under warranty. It never hurts to check.
If it’s not covered under warranty, you will have to pay for the part out of pocket. Prices for a replacement part will depend on which one you are talking about, but they can range from $10-$200+.
If you need a part or two that is not covered under warranty every now and then, the cost is not going to be exuberant. But we’ve seen consumers previously spend around $1,000+ on replacement parts; if you start to spend money on replacement parts approaching the $1,000 range, it’s probably time to look at a new trampoline. Speaking of…
Looking to Upgrade Your Trampoline?
All trampolines, with enough use, will need to have parts changed to ensure it is safe enough to jump on.
This is especially the case with cheaper trampolines that are made from inexpensive material: Part replacements and weather-related damage are common and can result in a very short product lifespan (1-2 years).
For some, cheaper trampolines can suffice for your child’s short-term “jumping phase.” But if you’re planning to have a trampoline for the long haul, and you find that the trampoline you have now is not working for you, it might be time to look into an upgrade.
You’ll notice that we didn’t mention our Springfree Trampolines much throughout the text. That’s because our Trampolines have proven to be the safest and highest-quality trampolines on the market by independent research.
They’re made with strong material, which means the need for replacement parts—and measuring your trampoline—is significantly decreased.
And if the need does arise for a replacement part, all parts are covered for wear-and-tear and manufacturer defect for 10 years.
Because they have been proven to be the best, though, they will cost more than your traditional spring-based backyard trampoline. For a Springfree, you can expect to pay $799-$3,999.
However, if you’re looking to invest in a long-term trampoline for your family, you won’t find a safer or better-quality option out there.
If you’re curious about a trampoline upgrade, read through our article laying out the different types of Springfree Trampolines you can purchase and see if one is the right fit for your backyard.
And if you have any questions about measuring a trampoline or potential upgrade options, reach out to us and receive timely assistance from a trampoline expert!